Install Dynamics 365 for Field Service Demo Data Steps:
1.Click the Address bar
2. Type https://www.microsoft.com/en-us/download/details.aspx?id=55320
3. Press the Enter key.
4. Click the Download button.
5.Click the save drop-down arrow.
6. Click Save as.
7.Click Save to save the FieldServiceDemoData_v6_1_0_2 file to the desktop.
8. Click Open folder.
9.Double Click the FieldServiceDemoData_v6_1_0_2 file
10.Click Run.
11.Click Yes to accept the license agreement.
12.Click Browse .. to choose a location extract the data.
13.Select Desktop.
14.Click Ok.
15.Click OK.
16.Right click the FieldServiceDemoData.
17.Click 7-zip
18.Select Extract to "FieldServiceDemoData\".
19.Double-Click FieldServiceDemoData.
20.Double-Click FS_PkgFolder in the extracted FieldServiceDemoData Folder.
21.Right-Click the DemoDataConfig file.
22.Click Edit.
23.Click the NewName Value.
24.Type a user in your Dynamics 365 Deployment.
25.Click Save to save the DemoDataConfig file.
26.Click Close.
27.Click FieldServiceDemoData.
28.Scroll down to see PackageDeployer
29.Right-click the PackageDeployer application in the FieldServiceDemoData folder.
30.Click Run as Administrator.
31.Click Yes on the User Access Control message.
32.On the welcome screen, click continue.#
33.Select Office 365 for Deployment Type.
34.Select the Display list of available Organisations check box.
35.Select the show advanced check box.
36.Click the Online Region drop-down .
37.Select the Online Region to your Region , for example: North America.
38.Click the User Name field.
39.Type your user name.
40.Click the password field.
41.Type your password.
42.Click Login.
43.Select Dev-gmritsolutions.
44.Click Login.
45.On the Welcome to the Field Service Demo Data Setup Tool screen, click Next.
46.On the Ready to install screen , click next.
47.Click Next.
48.Click Next.
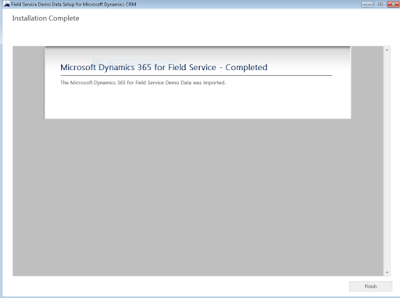
49.Click Finish to complete the Field Service Sample Data installation.
I hope this helps..


No comments:
Post a Comment
Note: only a member of this blog may post a comment.